


Try it Tuesday: Personalized Sign
June 25, 2012
I’m back! After months of wedding planning and slowly moving to New York I am finally settled in! So now it’s back to photography, oh how I’ve missed my camera! (Don’t worry I’ll be sharing wedding pictures later on!)
So one of the newer fads in the wedding world is personalized signs for pictures and decorations. A quick look at Pinterest or a Google search and you can find tons of inspiration. In fact Ben and I had one for our engagement pictures….courtesy of Benjamin, because I had just finished Jess’s shower and hadn’t even thought about making a sign for us! He’s so crafty! :0)
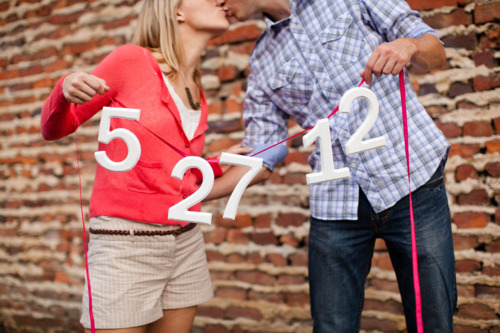
Photo courtesy of Katelyn James Photography. But that’s not what I’m going to show you how to make today. You may remember this sign from the blog post of Jess’s shower. (I love this photo!)
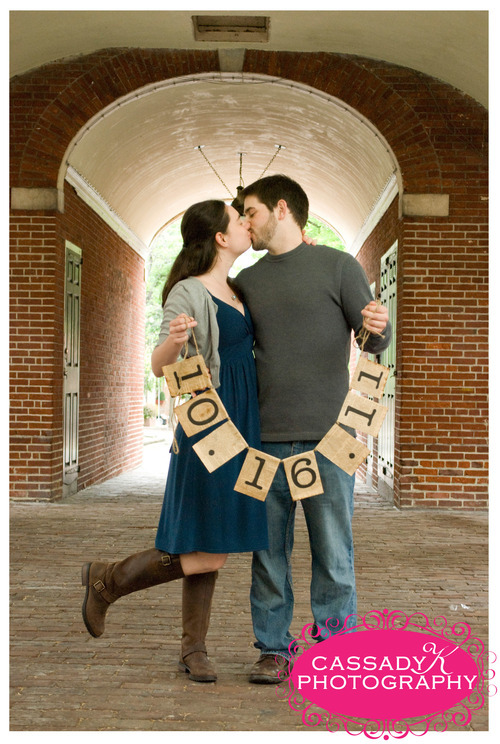
So this sign was actually very easy to make…once I figured out how to age the paper.
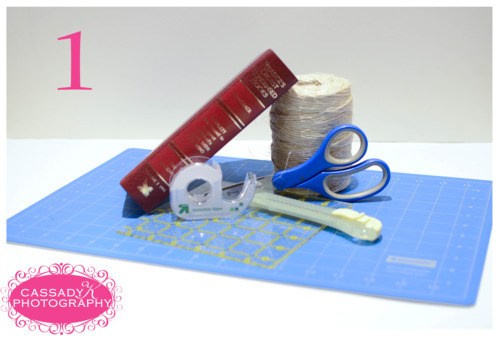
For the Sign You’ll Need:
- Any type of paper that you’d like to make look vintage…I chose paper from a book (25 cents at Goodwill!)
- Some type of string, I chose twine
- Scissors
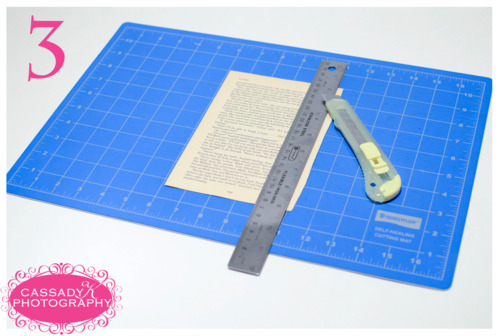
- A utility knife, ruler & cutting mat (only if you’re a perfectionist like me)
- Tape
Cut or rip out the pages from an old book
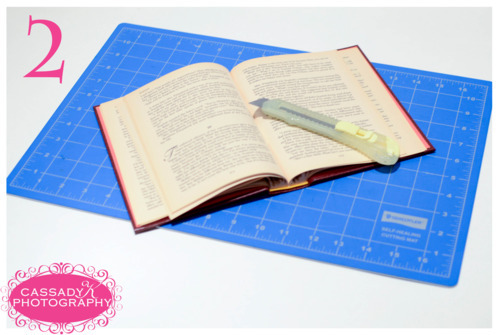
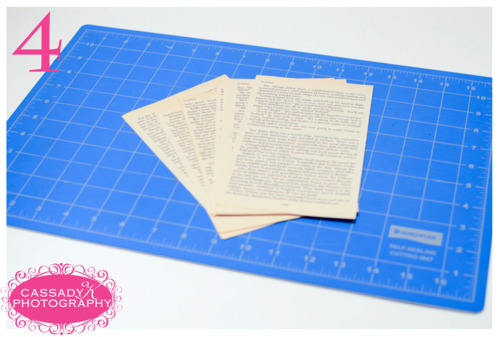
Then I trimmed the edges of the pages because I decided to print the letters on the paper instead of writing or painting them on.
See how nice and perfect they are?
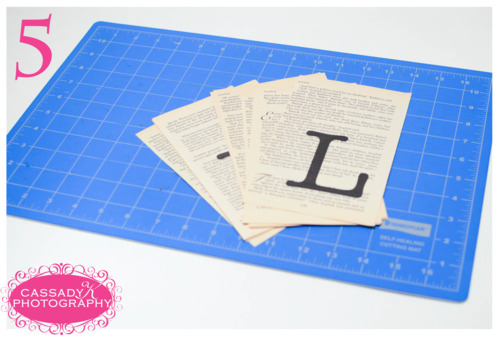
Then in Microsoft Word I set up the format for the pages and typed the letters I would need on each page. (This was a little finicky because some of the letters were wider than others)
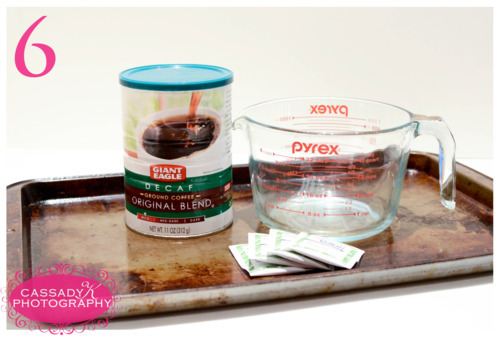
Next I need to make the pages look older, to do this you’ll need:
- An old tray that you don’t really care about (the tray will probably get stained)
- Tea Bags
- Boiling Water
- Coffee (to cause extra dark stains)
- Of course the pages that you made in the previous steps
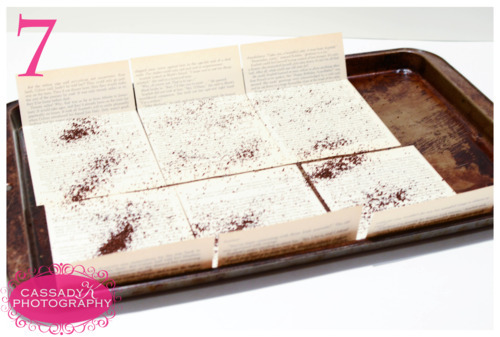
To start I folded the pages where I would want the rope to go through and then laid the paper down with the printed letters facing the tray. Then sprinkle some coffee grinds where you would like some darker spots.
Boil your water and add the tea bags so that the water gets very dark.
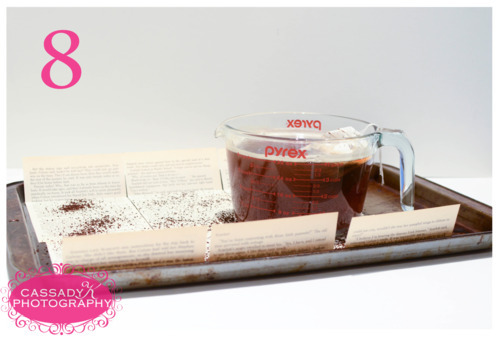
Then pour the hot tea on top of the paper so there is a thin layer across the paper.
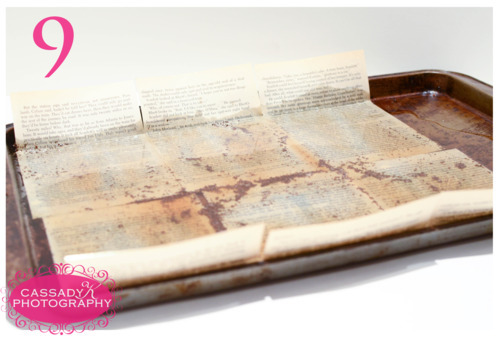
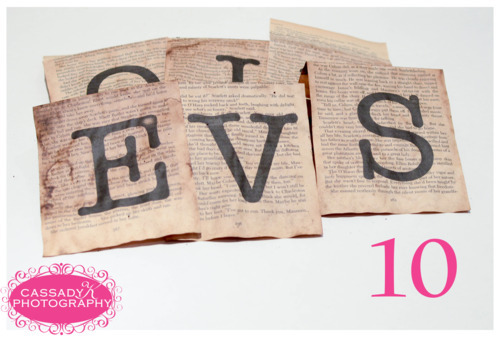
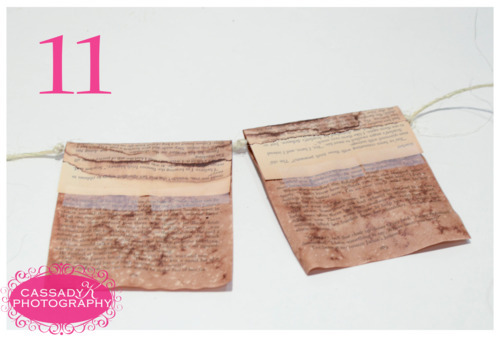
Then put the paper in an oven at 200 degrees and bake until the paper is completely dry. Let the pages cool before handling them. The pages should look similar to the picture below. (You’ll notice on the page with the E the darker spots from the coffee)
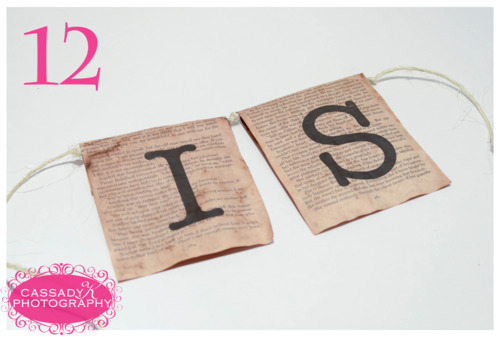
Finally I just folded the pages over the twine and put some tape on to hold. I also put knots in the twine so that the pages wouldn’t move too much.
And that’s it! Once I got the process down it basically took 20 minutes to make these signs. I actually made a couple other signs like this for Jess’s shower too! But you don’t need them for a wedding event, they also look cute hung up in your house!
Happy Tuesday!