Try it Tuesday | Framed Chalkboard
September 23, 2014
Today’s Try it Tuesday is one that I’ve used a bunch of times for parties and even decorations around our apartment. It’s a great way to cheaply update an old/ugly frame.
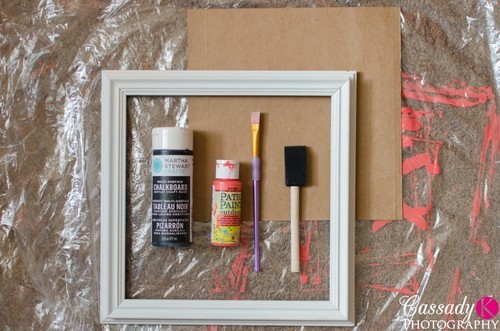
You’ll Need:
- A Frame to paint or that’s already painted (I like to find ones with unique details at thrift stores… they’re cheap and I don’t care that I’m painting it.)
- Paint for your frame
- Chalkboard Paint
- Paint Brush
- Sponge Brush
- Cardboard or Wood that fits inside of the frame so you can make it into a chalkboard
- Plastic or Newspaper to paint on… unless you’d like to paint your floor while you’re at it 😉
To start, use a wet paper towel to wipe off any dust or dirt. If there are any bumps you can use sandpaper to sand them down. After you lay down your plastic or newspaper, just paint the frame but make sure to get in all the little nooks and along all the edges that you’ll be able to see when you’re finished.
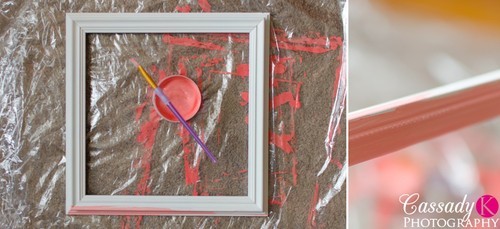
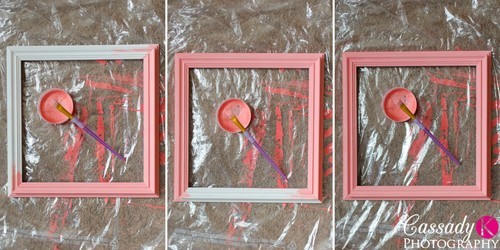
You may need to put two or three coats on depending on the material of the frame. Make sure to let it dry all the way. While the frame is drying you can start working on the chalkboard part!
Before you start painting the chalkboard make sure that the cardboard or wood fits inside of the frame one last time. Then start painting, make sure to really paint it on thick so that you only need to do one coat.

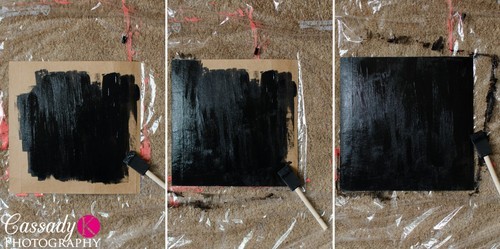
Really make sure the chalkboard paint dries and then put the chalkboard inside your frame. Before you start writing on the chalkboard you’ll need to prepare it, otherwise you’ll end up with one of those chalkboards that’s kind of hard/slippery to write on. Just take the side of a piece of chalk and rub it all over the chalkboard.
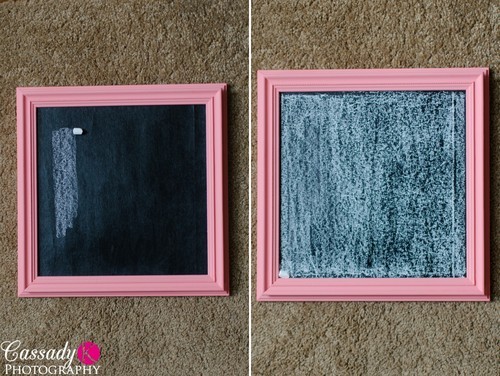
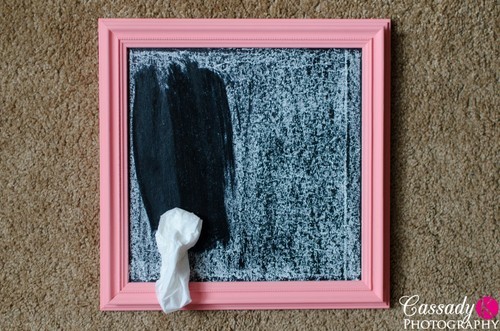
Then wipe down the chalkboard with a wet paper towel and you’re ready to go!
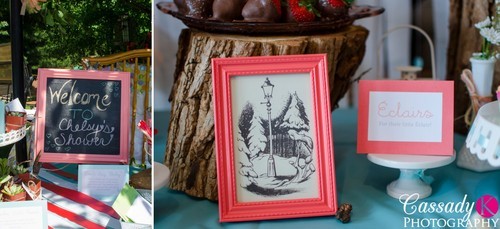
You may remember the framed chalkboard from Chelsy’s Shower. (You can pick up a picture frame stand from a craft store.) I also painted other frames and framed pictures in them since the frames came with glass.
I’ve also painted frames that came with mirrors and used them in our apartment and as the centerpieces at our wedding! 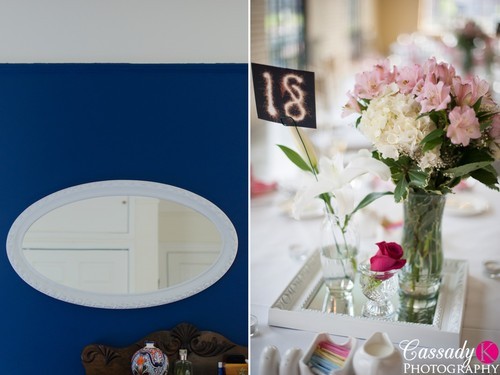
Have any other ideas on how to refurbish frames? I’m always looking for new ideas!