


Try it Tuesday: Deco Balls
April 29, 2014
I love decorating! Sometimes I become slightly obsessed and can’t stop thinking about it or I keep moving everything until it’s perfect. Ben laughs at me when I walk into one of the rooms of our apartment and I move a couple of objects until it looks balanced because I can’t sit down or feel comfortable in the room until it’s fixed. I blame it on having a creative brain and being a girl 🙂
For today’s “Try it Tuesday” I’m going to show you how to make deco balls that are great to fill bowls, baskets etc. These are perfect to just add little accents to a room or table.
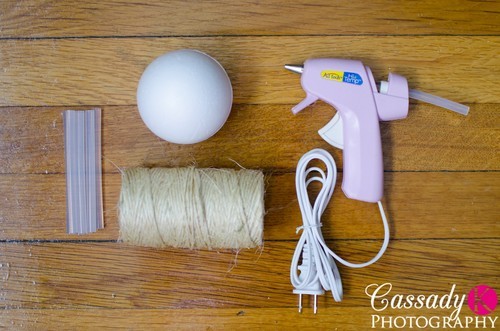
You’ll need:
- Foam balls (I used 3”)
- Glue gun (or another type of glue)
- Glue sticks (I used about 3 mini glue sticks per foam ball)
- Twine or ribbon to wrap around the ball
- Scissors
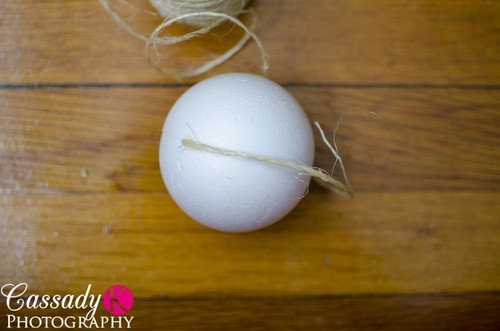
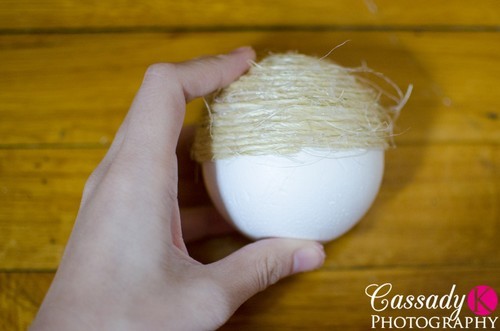
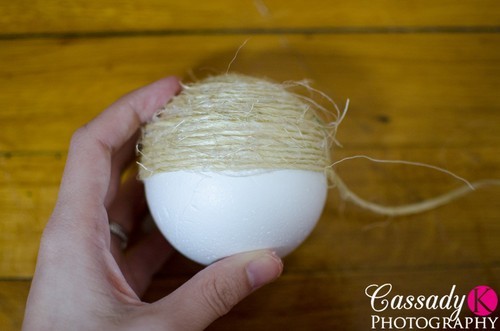
I started in the middle of the foam ball because there was a line that I could follow so the twine would remain straight. I put a little dab of hot glue and put the end of the twine in it until the hot glue cooled down. (Note: I chose to use hot glue because it cooled down fairly quickly. You could use another type of glue but it may take longer to finish. Please be careful if you are using hot glue because it is in fact HOT!)
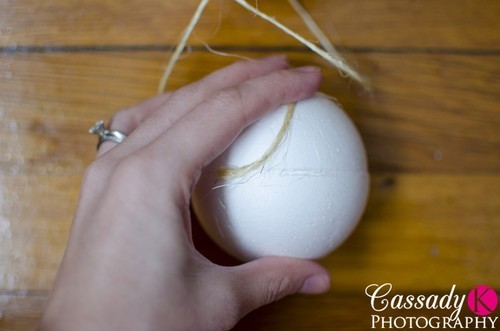
Once the end of the twine was secure, I put down a straight line of hot glue about 1/2 inch long. Then I put the string in it until it cooled down and continued around the foam ball.
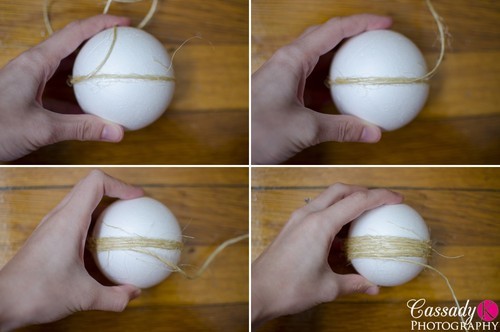
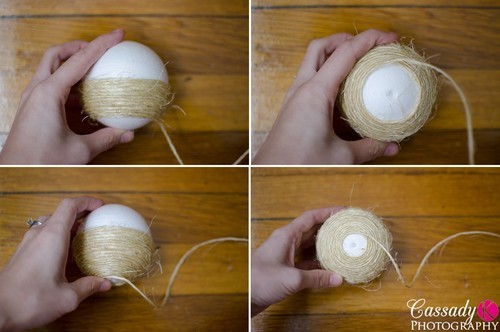
When I got to the end of the first side, I cut the twine to the amount I thought I would need. I put a dab of hot glue in the middle and then I laid the twine in it and held it there till it cooled down. If there was more left than I needed, then I just trimmed the twine and put a little dab of hot glue on top of the twine to keep it from fraying.
First half finished!
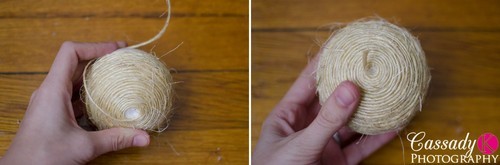
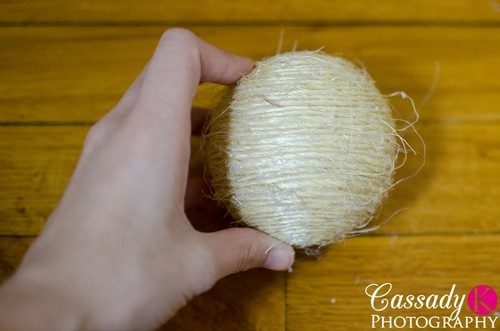
To start the second half, I found where I had started the first half and put a dab of glue there.
Then I put the string in the glue and waited for it to cool. As you can see this creates a cohesive look. Like before, I put a line of hot glue down and put the string in it and waited for it to cool and continued around the foam ball.


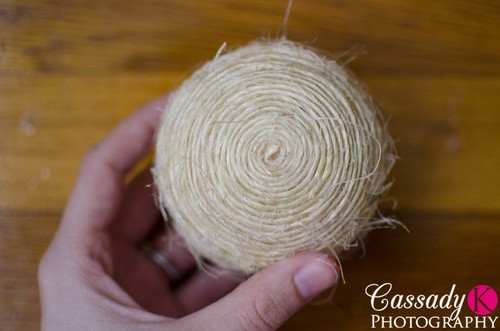
I finished the second side just like the first and TA-DA! One deco ball completed!
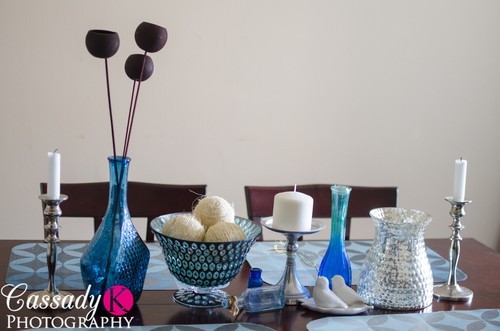
I made three deco balls and put them in a bowl that I’ve been meaning to fill on our dining room table.

As you can see our dining room table is just an assortment of vases, bowls, candles and now deco balls! A couple of tips on making “table-scapes”:
- it’s best to choose a color pallet and then go from there. I chose blue, teal and silver.
- You probably have a lot of objects right in your home that you can use. Before you head out to the store and buy everything new, look around your home for objects that you can use or re-purpose. I just pulled everything I had in my color pallet and only bought the bowl that the deco balls are in and the mercury glass vase.
- Variances in the height and size of the objects make the “table-scape” more interesting.
- If you are doing multiple colors, make sure the colors are interspersed. It’s like when you decorate a Christmas tree, you don’t want all the same color bulbs next to each other.
- Mix and match until you find what you like and it feels balanced. (This is why Ben laughs at me when I randomly move things in a room.)
As I was typing this I realized there are so many things you could wrap the foam balls in: twine, string, ribbon, strips of fabric, seeds, sequins, and beads. Anyone else have any suggestions?